- Home
- Revit As-Built Tools Plugin
- Revit As-Built Tools Plugin Usage
As-Built Tools Usage
Create Wall
- Turn on/off the external/internal material as required.
- Set the Internal, Core and External Materials that are required.
- Set the Internal/External setting to the appropriate setting.
- Set the location line for the 1st two click that are required.
- Click the Create Wall Button.
- Select 2 points running along the edge of the wall of the set location line.
- Click the opposing face of the wall to set the wall width.
- The finish material thicknesses can be set in the settings form.
- The wall naming convention can be set in the settings form.
Set Wall Width
- Ensure the wall location line is on the opposite side to the width that needs updating.
- Click the Set Wall Width Button.
- Select the wall.
- Click the new point of which the wall should end.
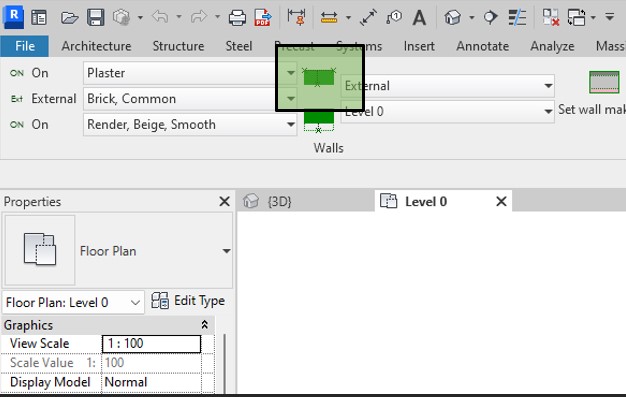
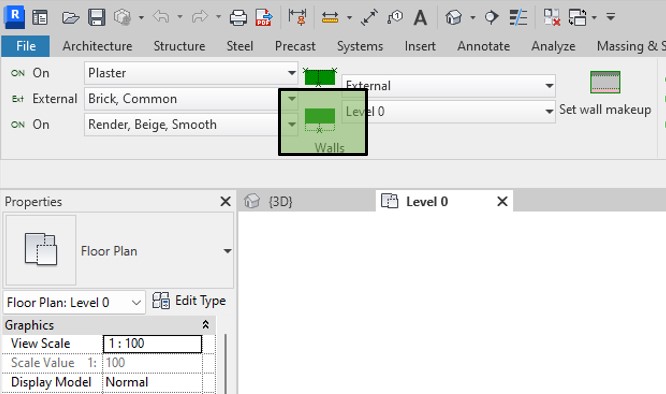
Set Wall Makeup
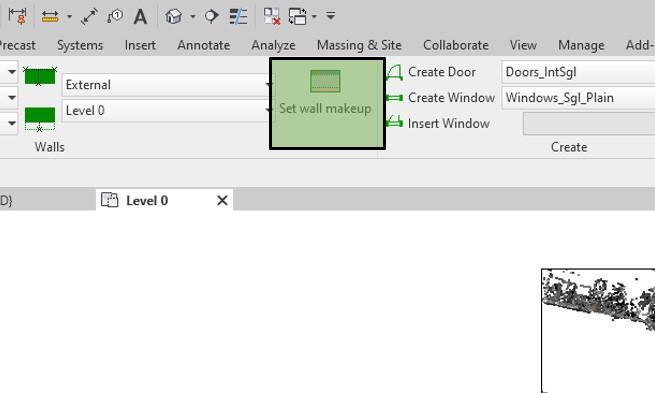
- Turn on/off the external/internal material as required.
- Set the Internal, Core and External Materials that are required (finish material thicknesses can be set in the settings form).
- Set the Internal/External setting to the appropriate setting.
- Click on the Set Wall Makeup button.
- Select the wall the new parameters are required for.
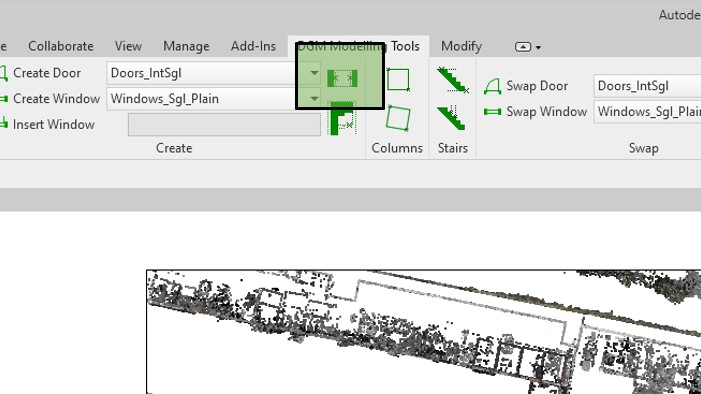
Create Door
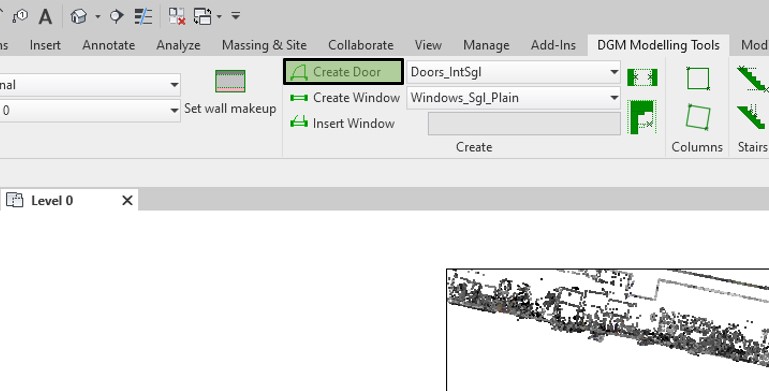
- Select the required door type in the drop down menu next to the Create Door button.
- Click the Create Door Button.
- Click the 1st opening side of the door.
- Click the 2nd opening side of the door.
- If the door familys width excludes the frame, change this setting in Settings.
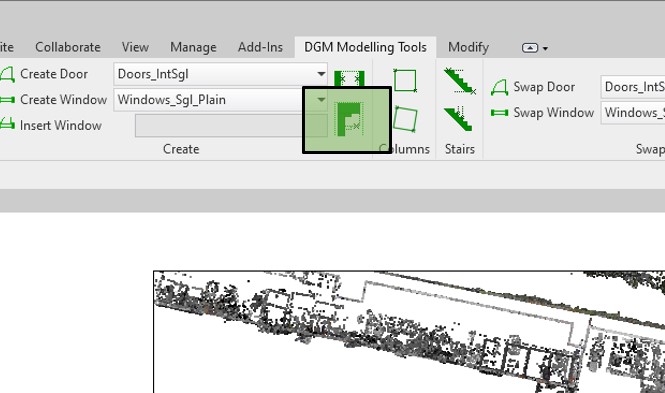
Create Window
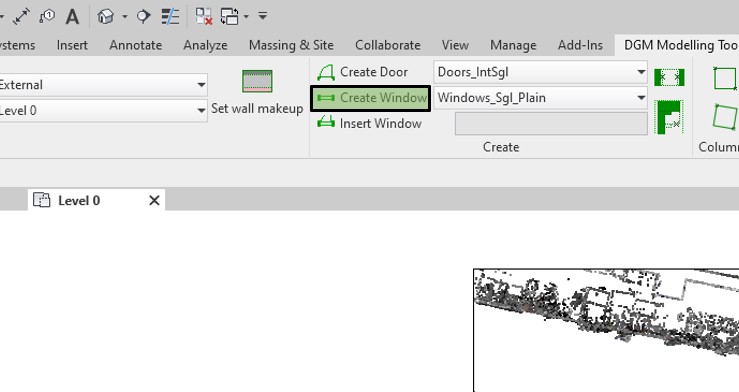
- Select the required window type in the drop down menu next to the Create Window button.
- Click the Create Window Button.
- Click the 1st opening side of the window.
- Click the 2nd opening side of the window.
Insert Window
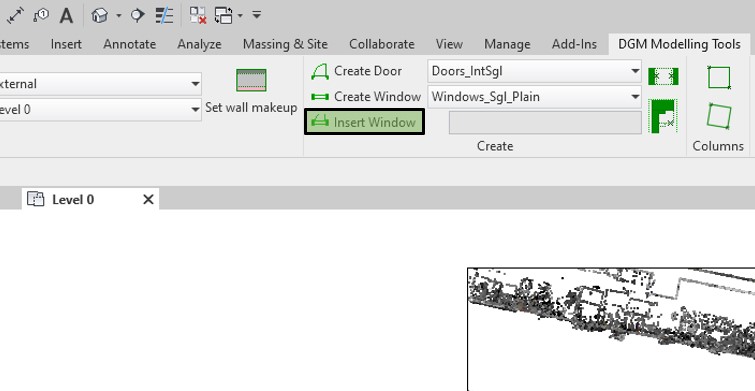
- Select the required window type in the drop down menu next to the Create Window button.
- Click the Insert Window Button.
- Select the door where the window above is required.
Set Width
- Click the Set Width Button.
- Select the door or window that requires its size changing.
- Click the 1st opening side of the opening.
- Click the 2nd opening side of the opening.
- The opening for a door will exclude the door stop.
- If the door familys width excludes the frame, change this setting in Settings.
- The opening for a window is from the wall opening and excluding any framework.
Set Height
- Ensure you view is set up with a side on view of the item that needs updating (View Cross Section will do this).
- Click the Set Height Button.
- Select the door or window that requires its size changing.
- Click location the top of the opening.
Create Straight Column
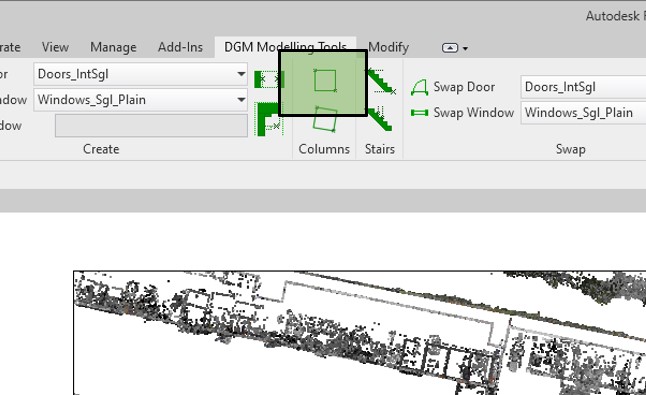
- Click the Create Straight Column Button.
- Click the 1st corner of the column.
- Click the opposite corner of the column.
Create Angled Column
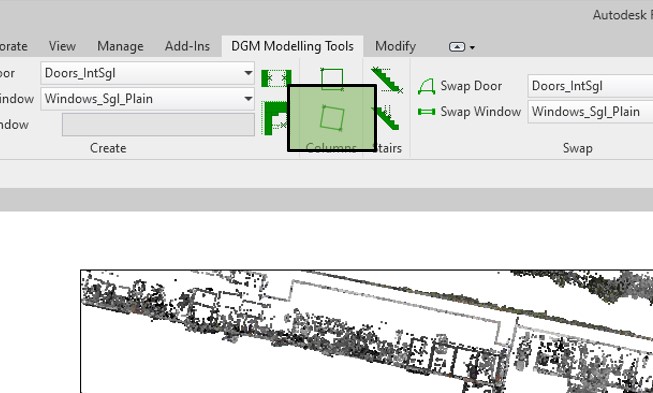
- Click the Create Angled Column Button.
- Click the 1st corner of the column.
- Click the 2nd corner of the column (this point needs to share an edge with the previous point).
- Click the 3rd corner of the column (this point needs to share an edge with the previous point).
- The angle of column will be defined by the 1st 2 clicks.
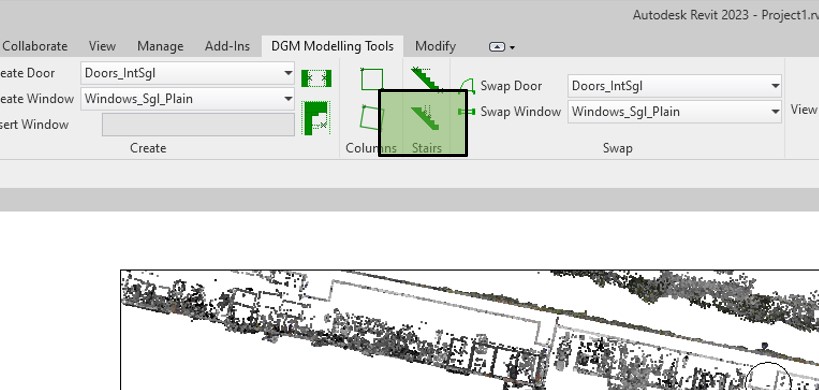
Set Stair Height
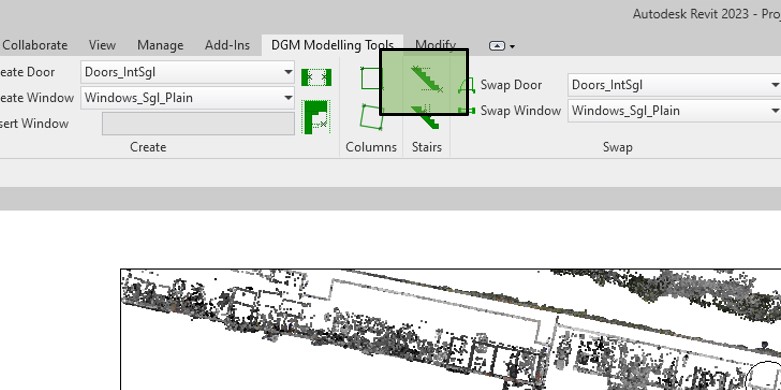
- Ensure you view is set up with a side on view of the item that needs updating.
- Click the Set Stair Height Button.
- Select the stairs that requires its size changing.
- Click the base level for the stairs.
- Click the top level for the stairs.
- The top of the stairs is defined by the final step level.
Set Stair Tread Width
- Ensure you view is set up with a side on view of the item that needs updating.
- Click the Set Step Wdith Button.
- Select the stairs that requires its size changing.
- Click 1 side of the tread.
- Click the other side of the tread.
Swap Door
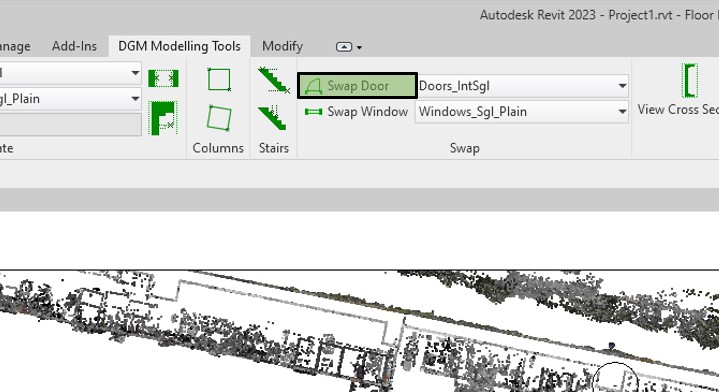
- Select the required door type in the drop down menu next to the Swap Door button.
- Click the Swap Door Button.
- Select the door that is required to be swapped.
Swap Window

- Select the required window type in the drop down menu next to the Swap Window button.
- Click the Swap Window Button.
- Select the window that is required to be swapped.
View Cross Section
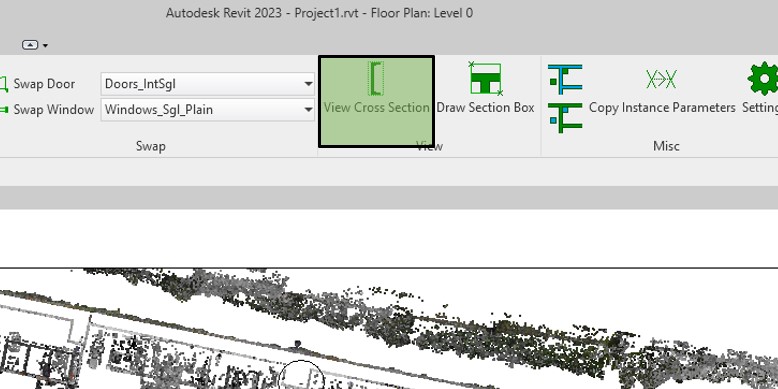
- Click the View Cross Section Button.
- Select the window or door that is required to be swapped.
Draw Section Box
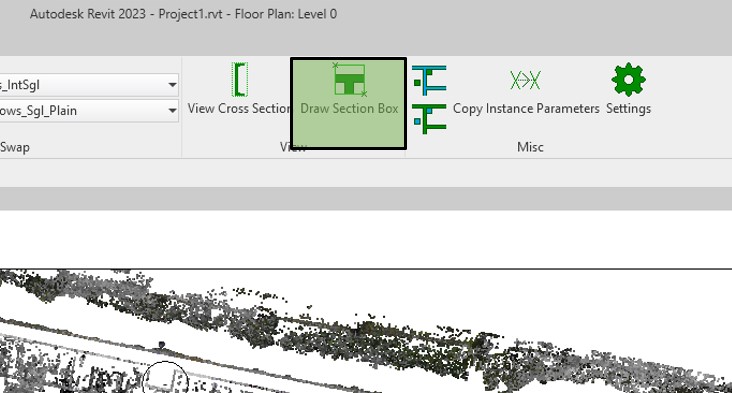
- Click the Draw Section Box Button.
- Click the 1st corner of the section box.
- Click the 2nd corner of the section box.
Select Internal Walls
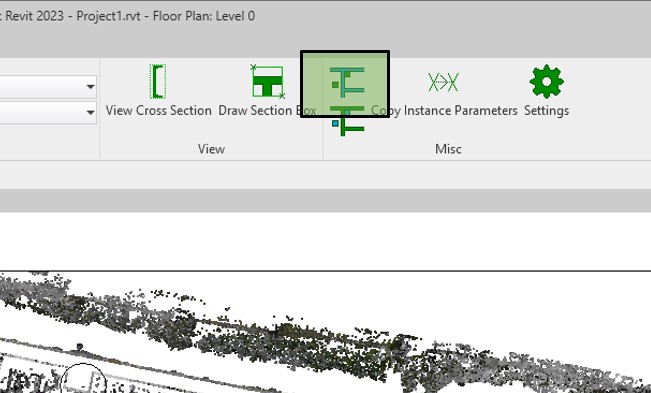
- Click the Select Internal Walls Button.
- Only walls with the base level set to the current view level and the top level set to the next level above with the type setting of Internal will be selected.
Select Columns
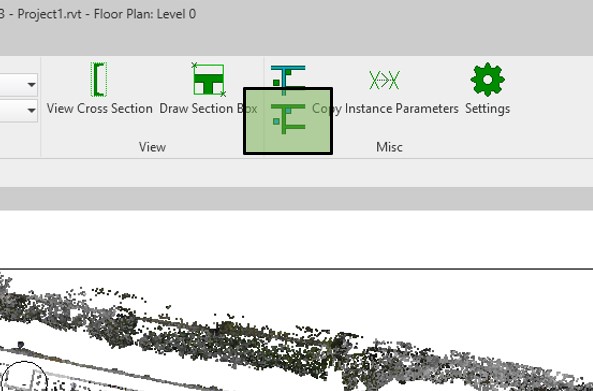
- Click the Select Columns Button.
- Only columns with the base level set to the current view level and the top level set to the next level above will be selected.
Copy Instance Parameters
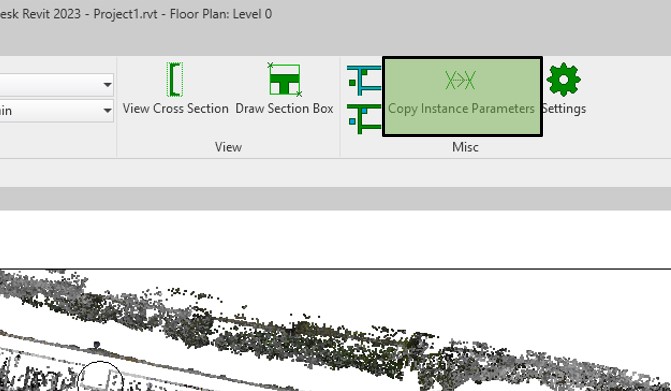
- Click the Copy Instance Parameters Button.
- Select the door or window the instance parameters are to be copied from.
- Select the door or window the instance parameters are to be copied to.
Align Door to Floor
-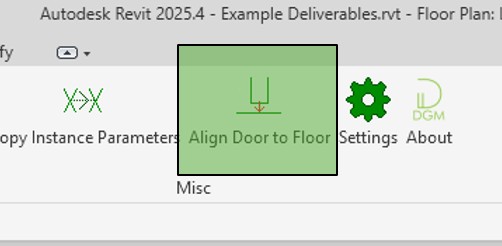
- Click the Align Door to Floor Button.
- Select the door that you wish to align to the floor level.
- If a suitable floor and be found, the door will ajust is level to be aligned with the floor.
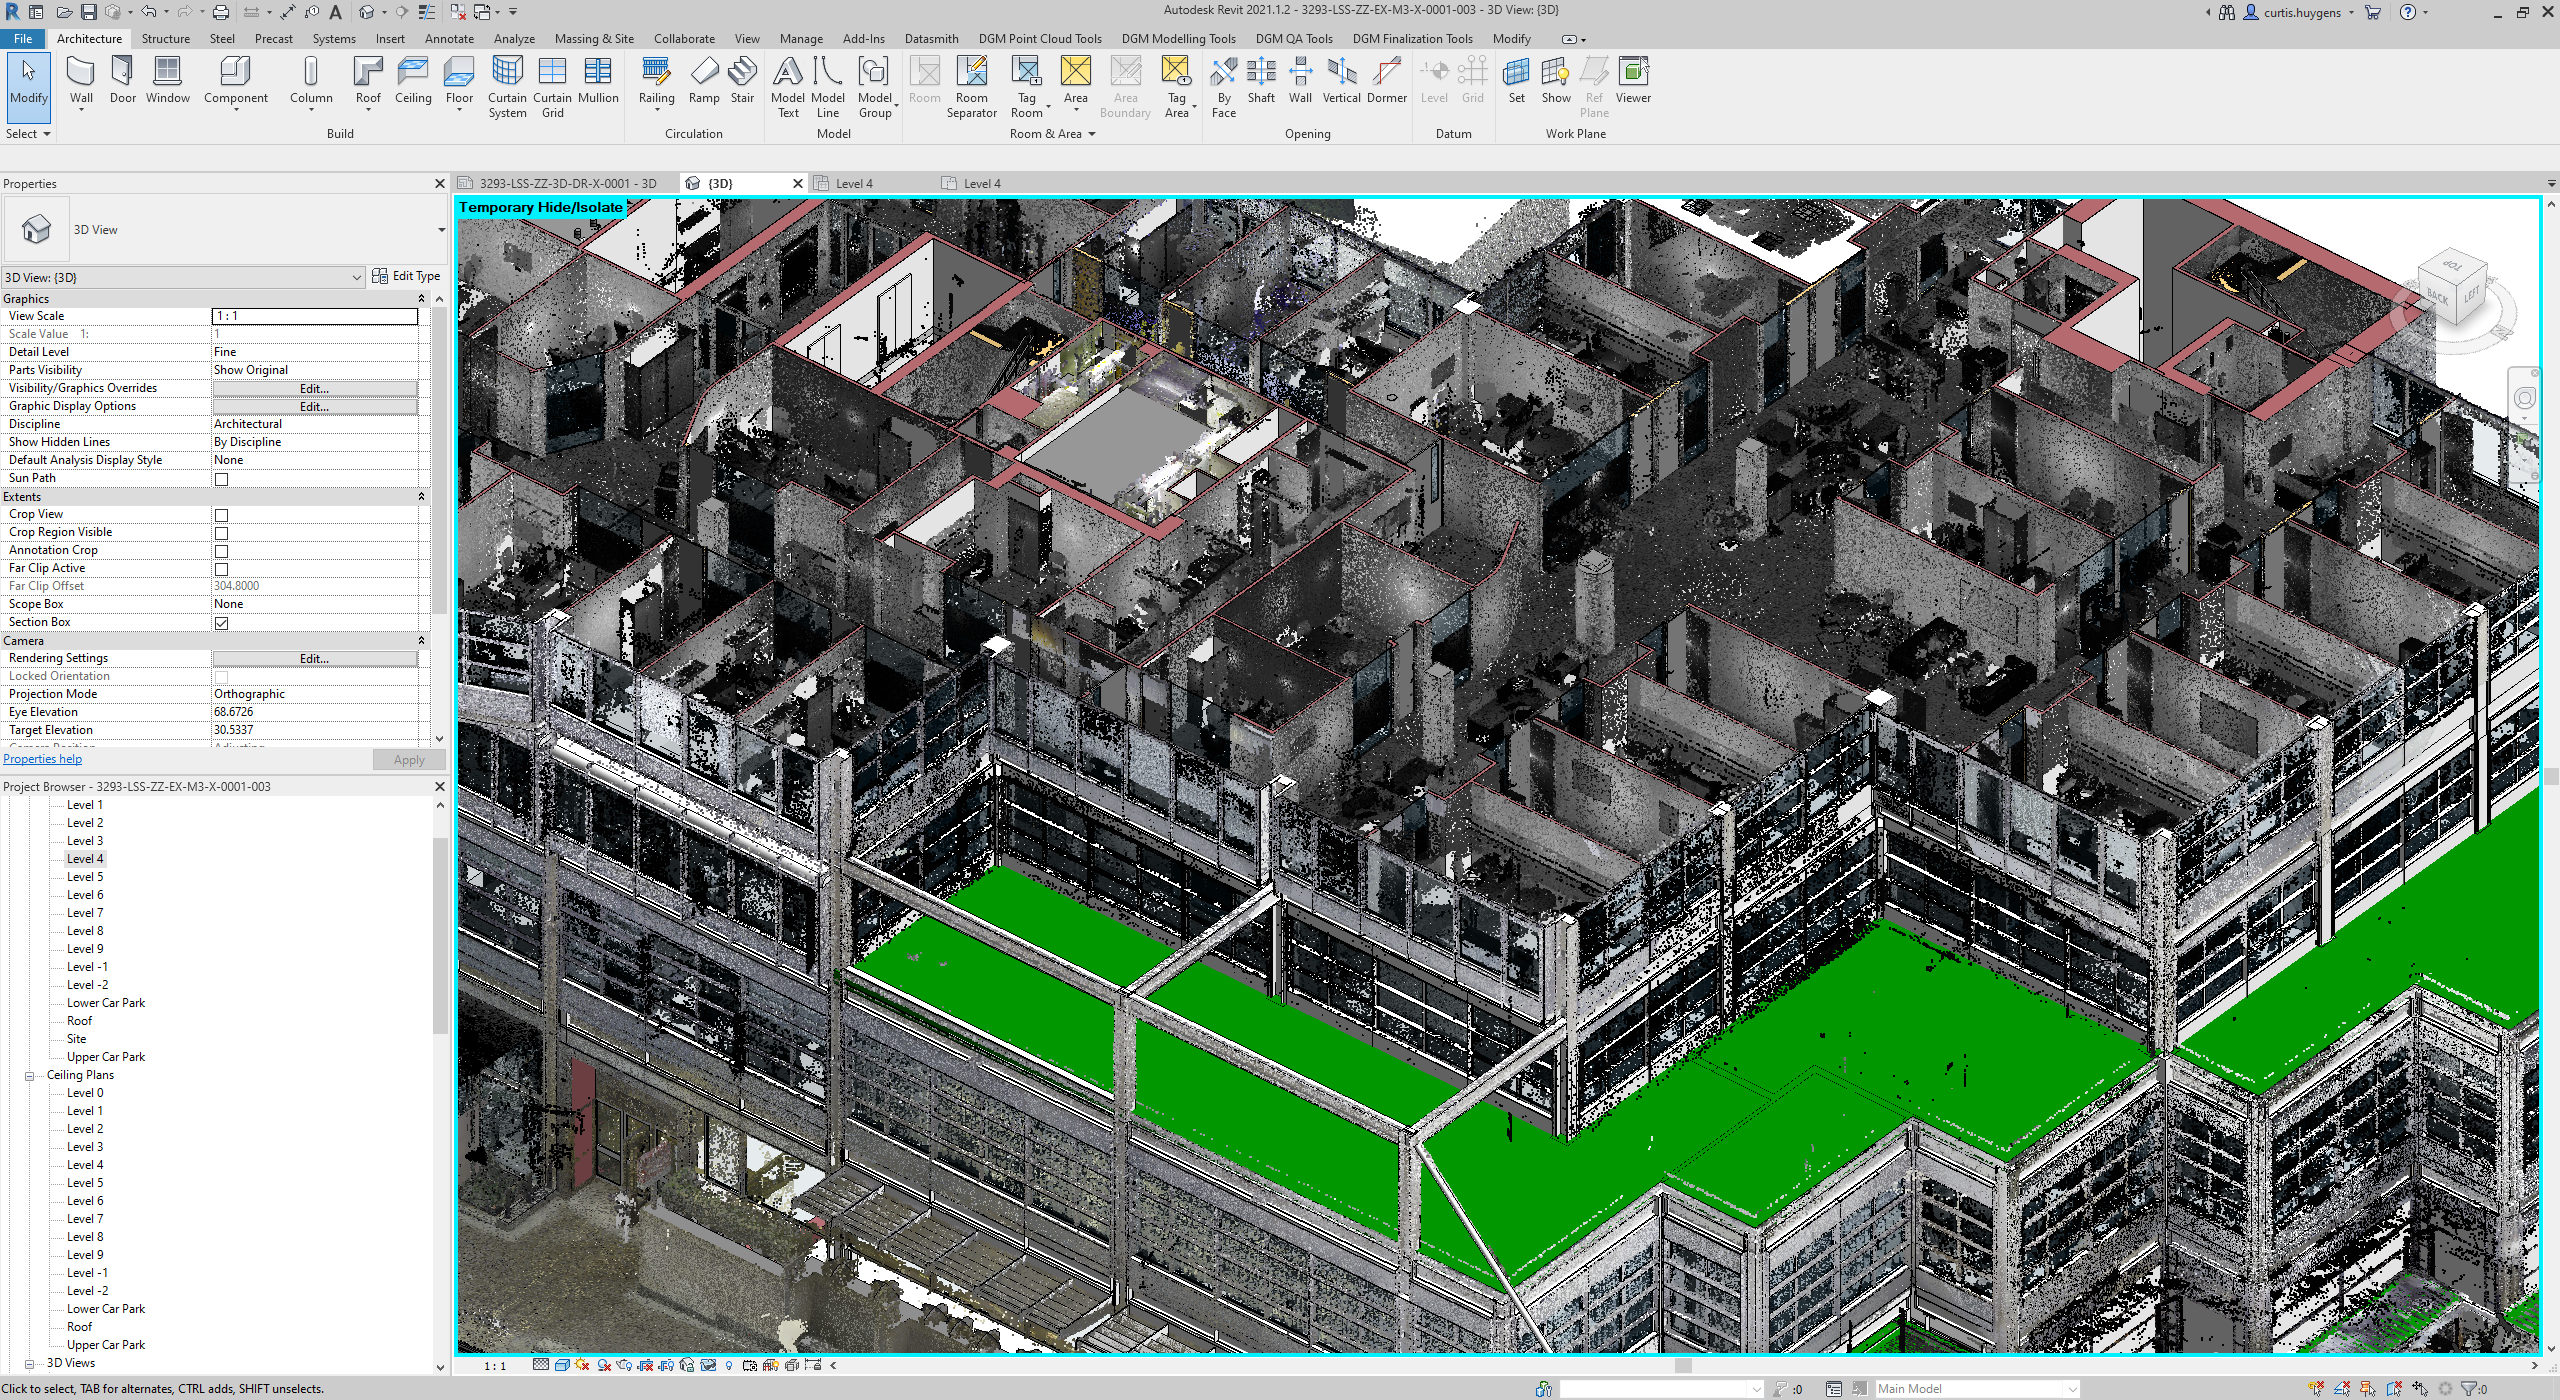
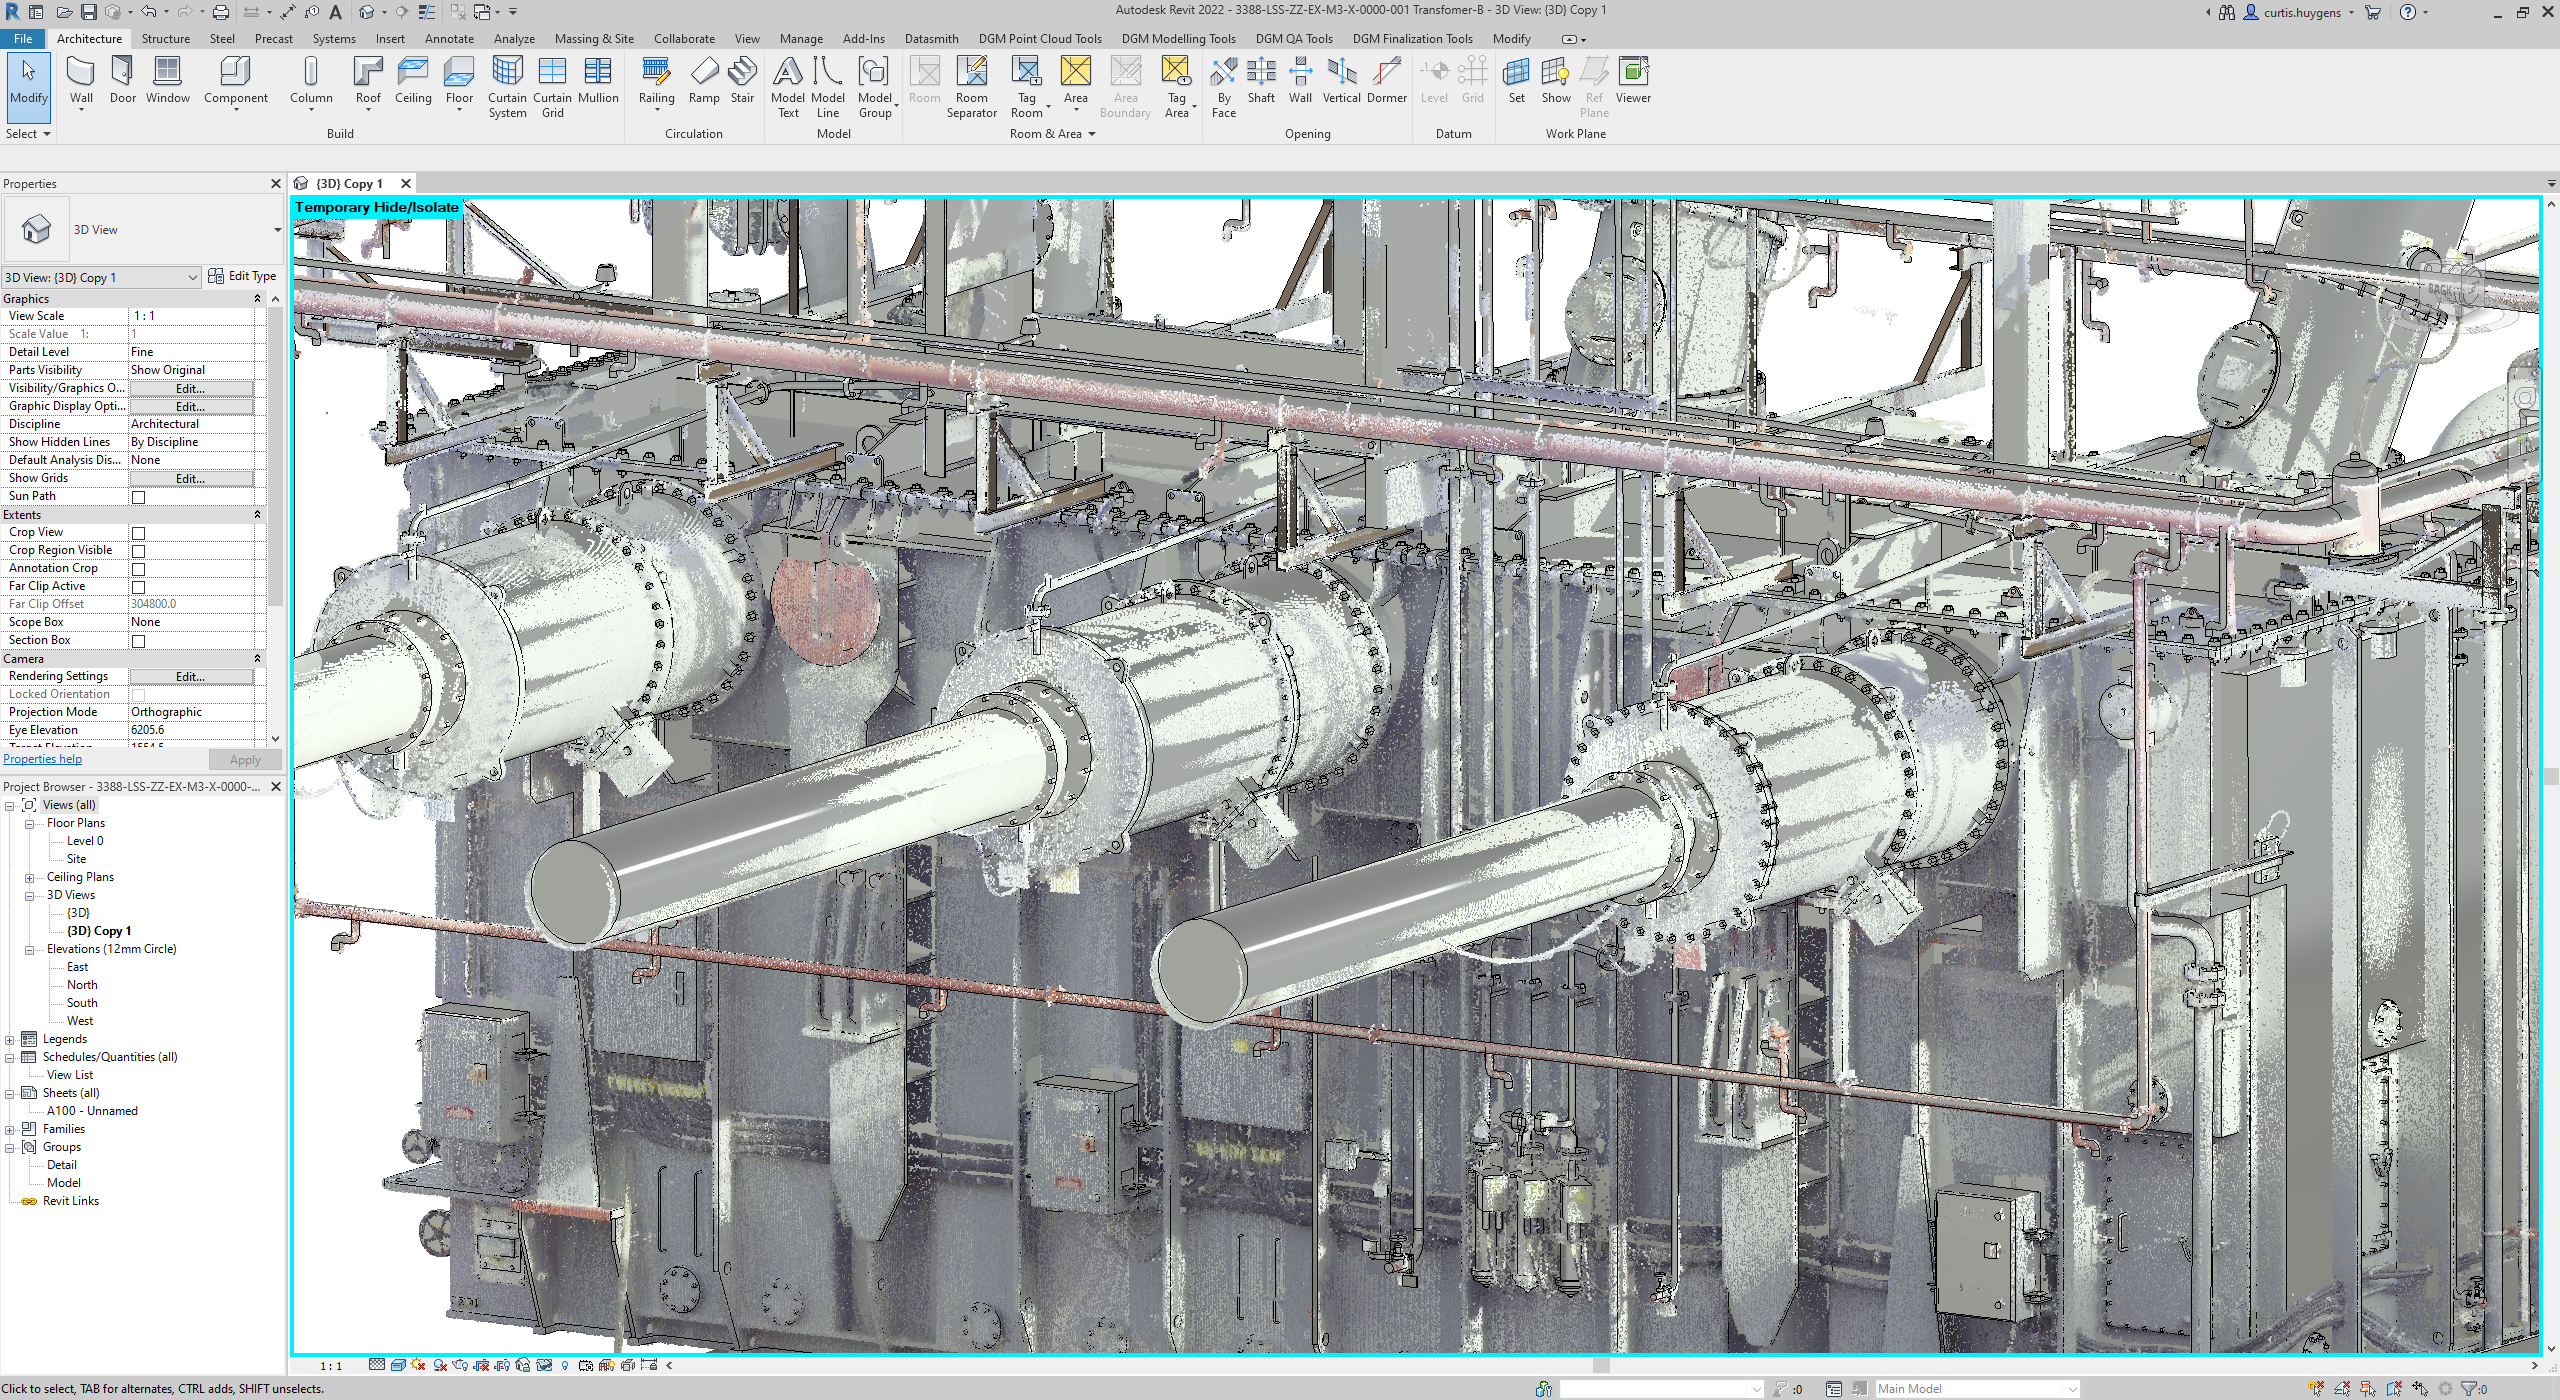
Latest Images